And finally…

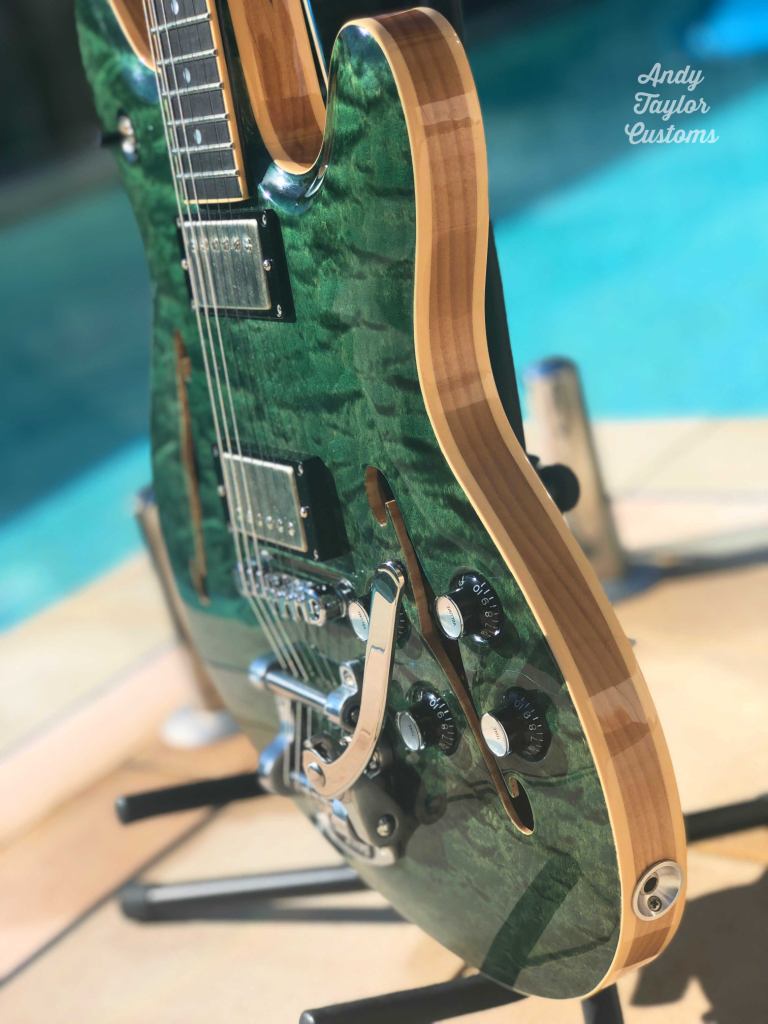
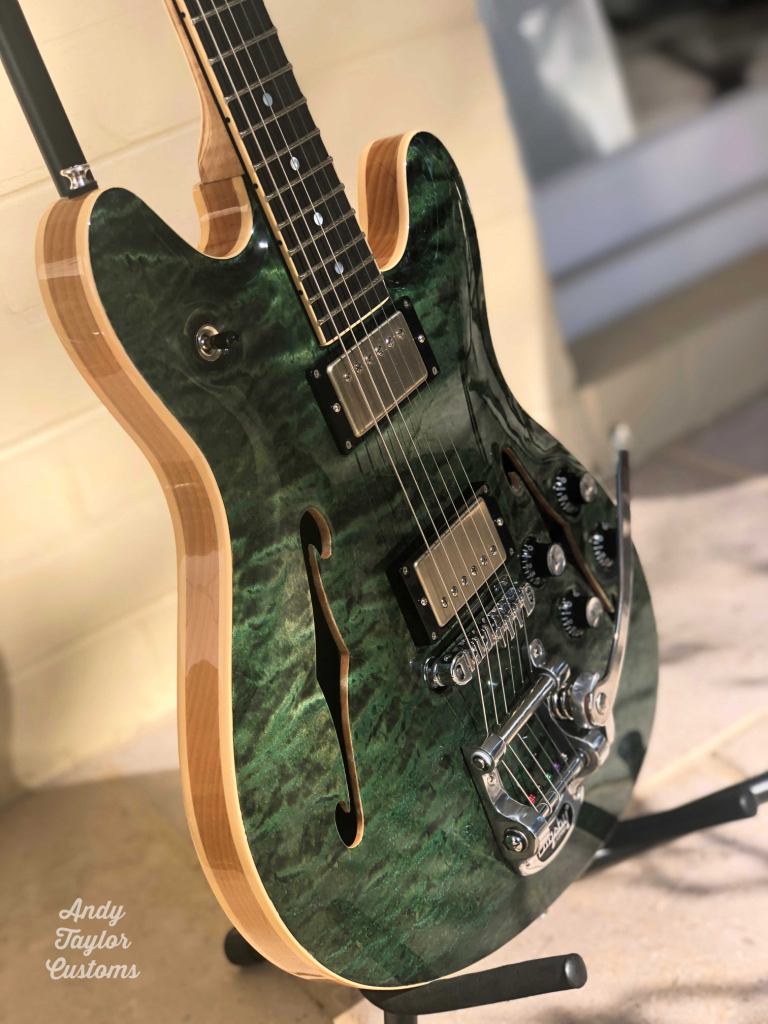
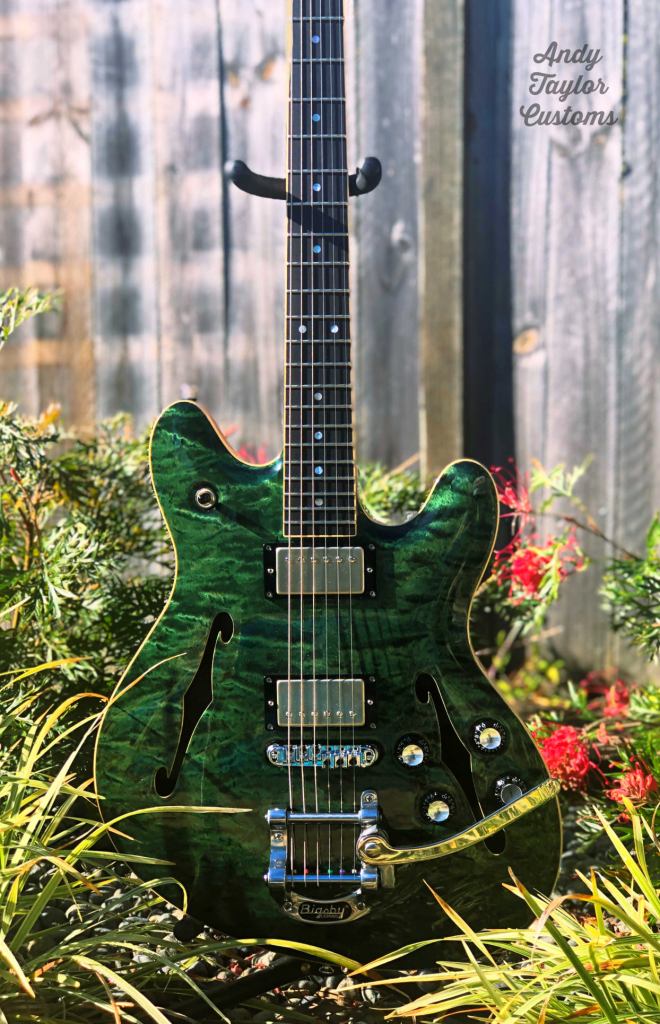
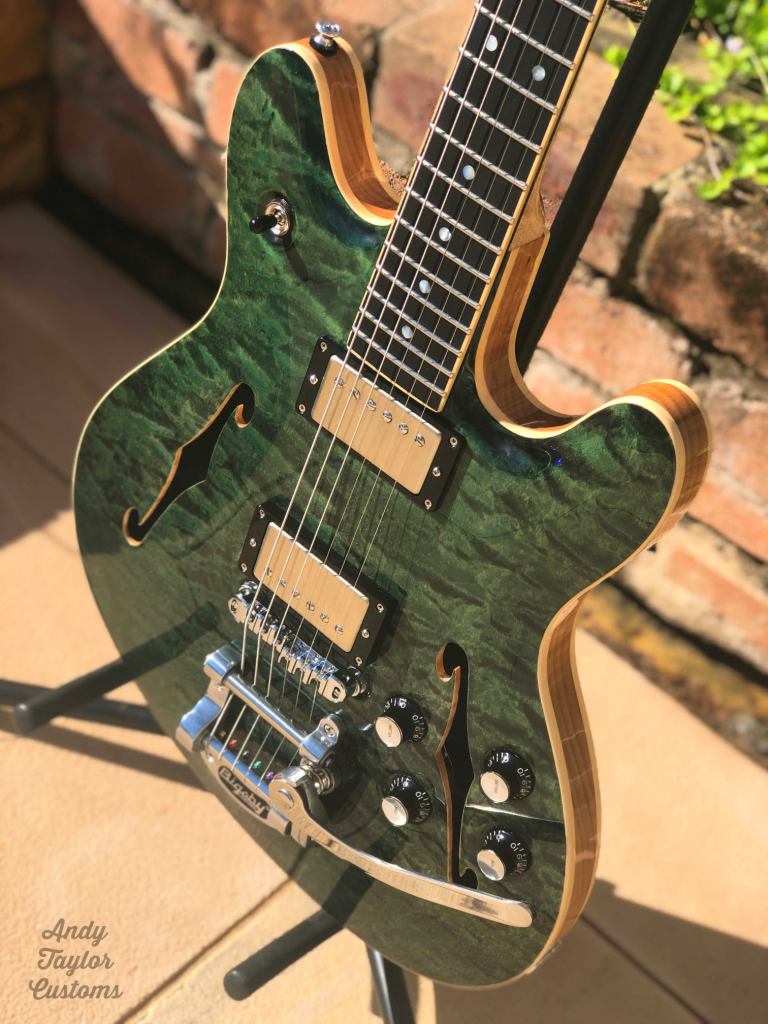
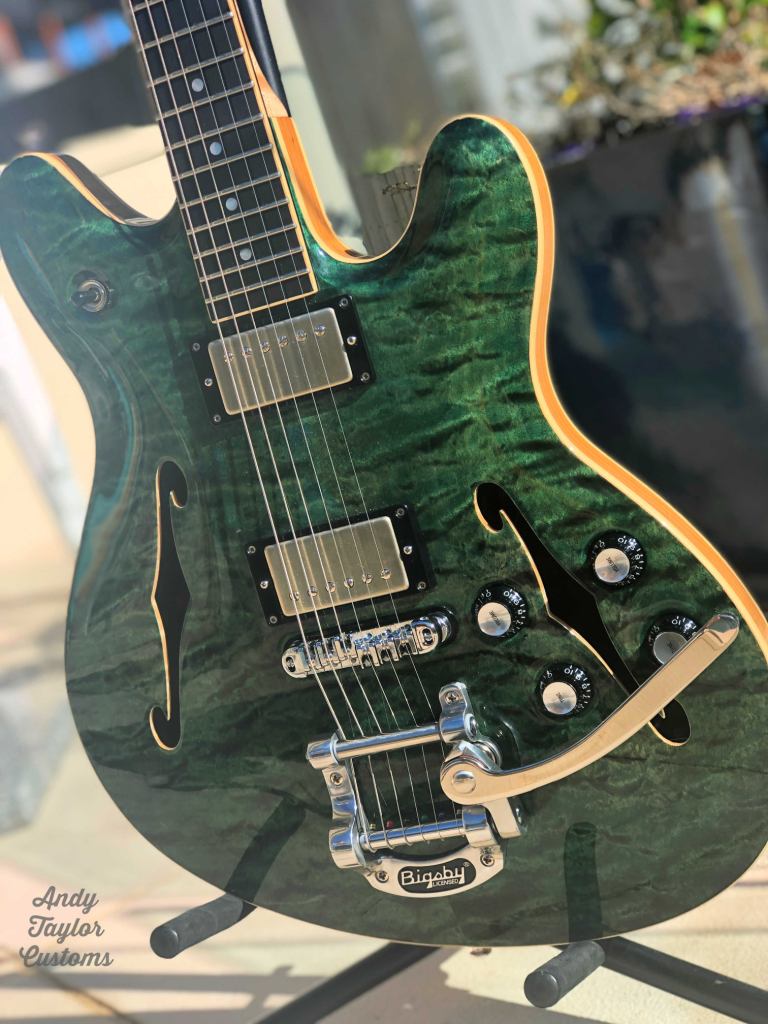
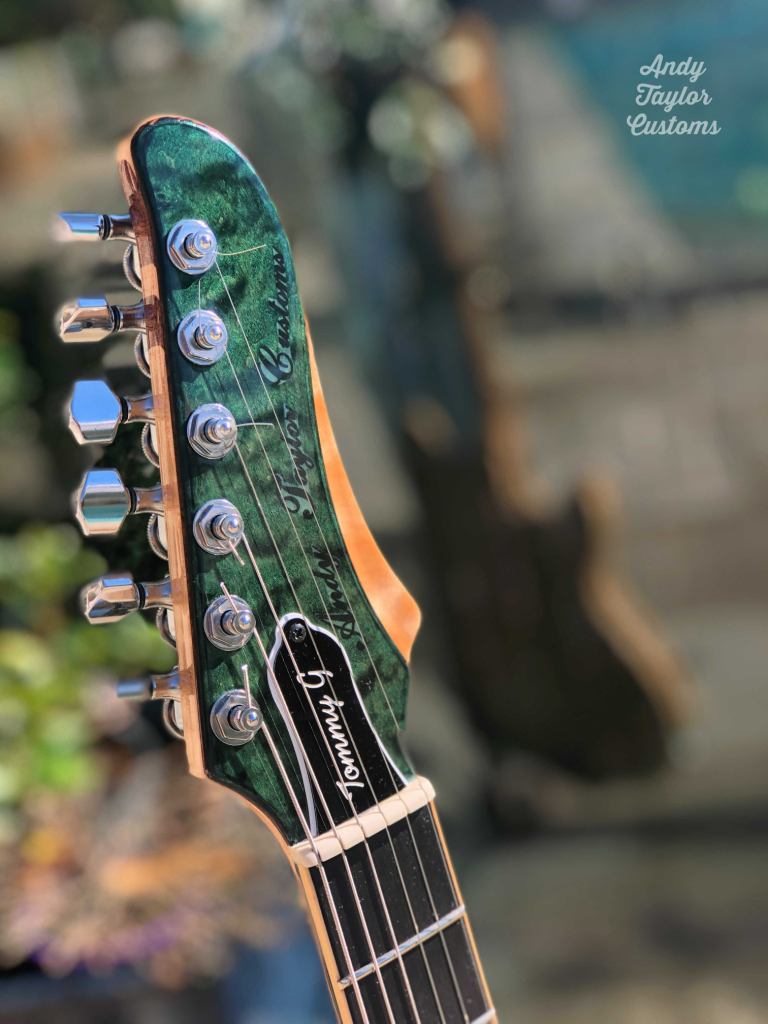
It’s all done and ready to go to its new owner! He decided against a pick guard in the end, which I was happy about. The snazzy Truss Rod cover on the headstock was supplied by the owner, in his custom style. He is a local Northern Beaches musician, so keep an eye out for this one gigging around Sydney. The owner has named it ‘The Green Gringo’. Very happy customer. A bit sad to see this one go, but you can’t keep em all!

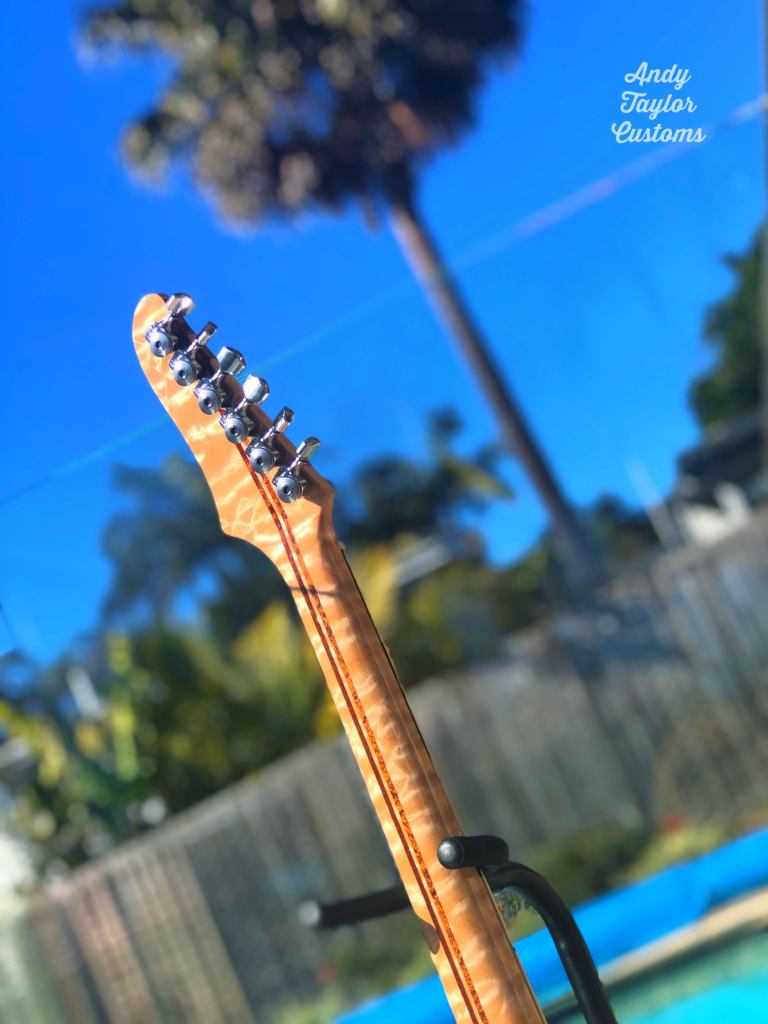
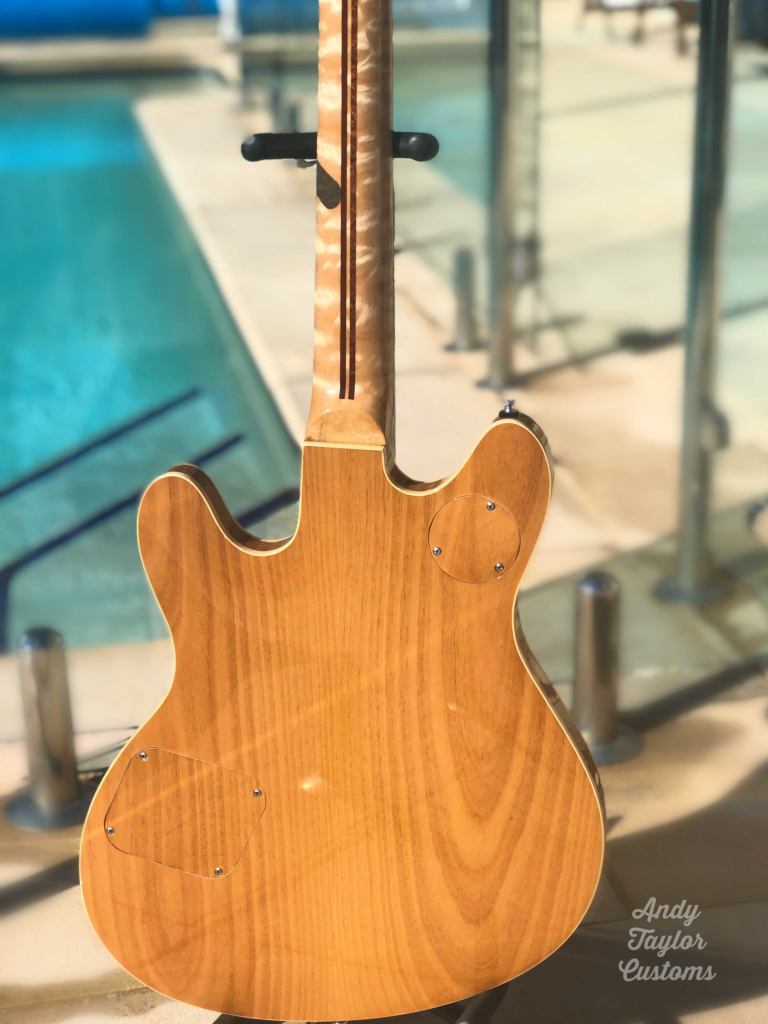
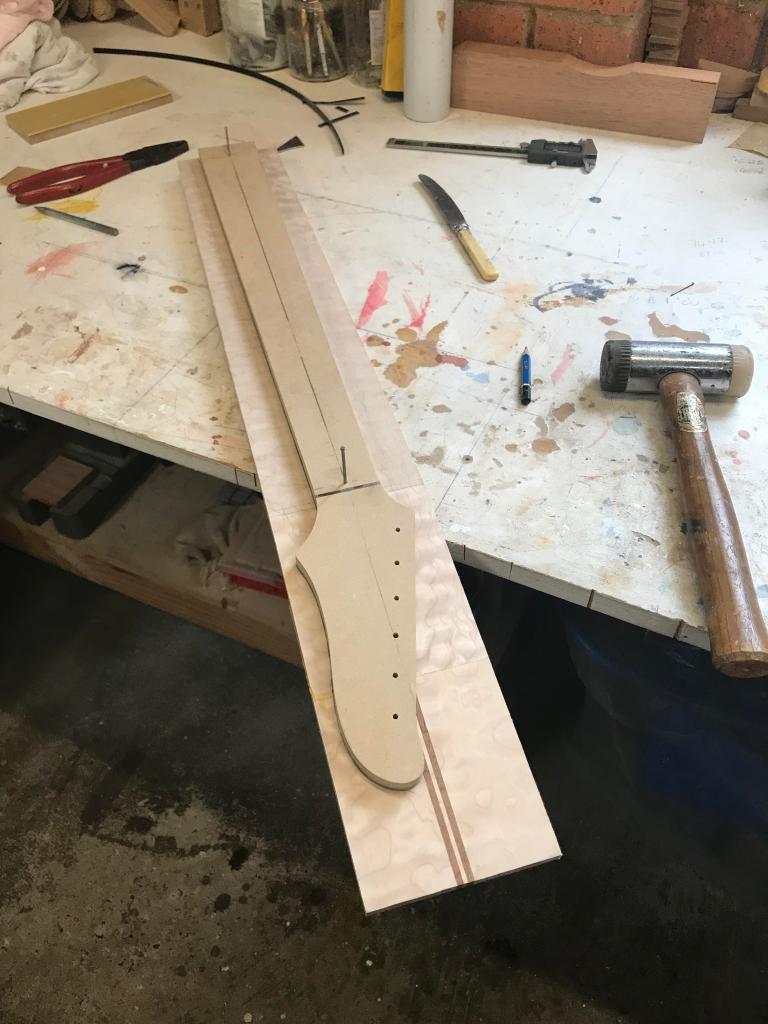
Check it out in the previous builds section for an overview of the details!

Getting close…

Once I’ve built up enough coats, I’m meant to leave it for a couple of weeks before I can start sanding and polishing it.

It’s so hard to leave it alone though, I just want to get in and keep working on it. The owner has said he wants a pick guard on it. I wouldn’t add one by choice, but Fender puts one on theirs, so we’re seeing if we think it will add to the overall product.

Carving

The front on this one is carved, not flat. But the Bigsby needs a flat surface to be bolted onto. That means I need to get inventive with it, make sure I don’t carve too much away and cause an issue for mounting the Bigsby.

At this point I’ll do a rough carve and see how it’s going. You can see the big silver Bigsby sitting here on the body at the bottom of the strings. It’s a hefty piece of gear! I can string it up even before the neck is glued in to get an idea of how it’s coming along.

Maybe some more fine tuning needed on the front, but it’s getting close. I’ll start on the back next. The owner-to-be is coming around to check it out, make sure he’s happy with how it’s all going. He wanted quite a chunky neck on it, so I hope he’s happy with what I’ve done. We’ll discuss the knob layout and some other fine details. It’s always fun working with my customers to create the exact guitar they want! No detail is too small, it’s nice to get it right.

Body time

There’s something about the Starcaster shape. It feels racy. Though it’s not for everyone – for one thing, it doesn’t sit in a normal guitar stand, thanks to the sloped bottom on it.

It makes a nice body, the Alder wood, but it can be a bit tricky to machine, especially if your drill bit has lost a bit of its edge. This one isn’t too old and worn, but even that can make a difference.

Alder generally cuts fairly cleanly but being on the softer side, the drill can bite into the wood if you’re not careful, and chew it in the odd spot (when did we get to using eating words in relation to woodwork?).

Only one solution to this: out with the sandpaper.

While I’m making this build, I’m also making some new templates. The Starcaster shape seems quite popular and keeping in mind it might come up again in future commissions, it’s probably time to set up a few more permanent patterns.

The quilted maple is coming up nice on the top too.

The Neck

I’ve decided to do something a bit different with the neck of this build. I’ve decided to break up the piece of quilted maple with two mahogany stripes. It’s hard to come to terms with cutting a beautiful piece of maple in two, but it looks pretty striking and adds extra strength to the neck.

So I sat the stripes on top, hoping I was making the right choice.

Then cut it and re-glued it together.

The next step was to cut it into… well… A neck.

And then I’ll add the truss rod into the neck, and the carbon rods on either side of it.

It was a difficult piece of maple to work with, so I hope the grain turns out to be worth all the effort!

Pickups

Pickups can be such a personal decision. Everyone has their favourite types. I’m a big fan of Brierley pickups, made in Adelaide, Australia by my friend Mick Brierley. He makes a range of different types and I always really enjoy using them in my builds.

For those of you who like details: these are A2 491’s with nickel covers and light potting.

Progress

I use a rotary sander to get the wood to the right thickness, so that’s where I start with making the cap and the fretboard, making sure they’re accurate.

So here is a picture of the cap for the latest build thicknessed and joined.

Happy with how it’s turning out, some beautiful grain in that wood.

Next to get a piece of Ebony for the fret board. This one was rough cut, but you can see the difference between how it looks at first and how it comes up once it’s been thickness sanded.

I’ve made my own ATC take on the Starcaster-style headstock for this build. This is the template, sitting alongside a quilted maple neck I made for another guitar. You can get an idea of how it will turn out.

Here it is sitting on the blank Quilted Maple bit of wood that will become the neck for the latest Starcaster-style ATC custom build.